


Check out a newer article with our updated cleaning process here.
The cleaning of excess resin from fresh-off-the-press prints is a critical step on the path to a perfect miniature. Miniatures come out of the resin vat dripping with uncured resin that needs to be removed without damaging the figure itself. In this post, I go over a few tips for getting rid of as much excess resin as possible while maintaining the print detail the designer originally intended. Note that this post is about “traditional” resin that must be cleaned with alcohol, not water washed.
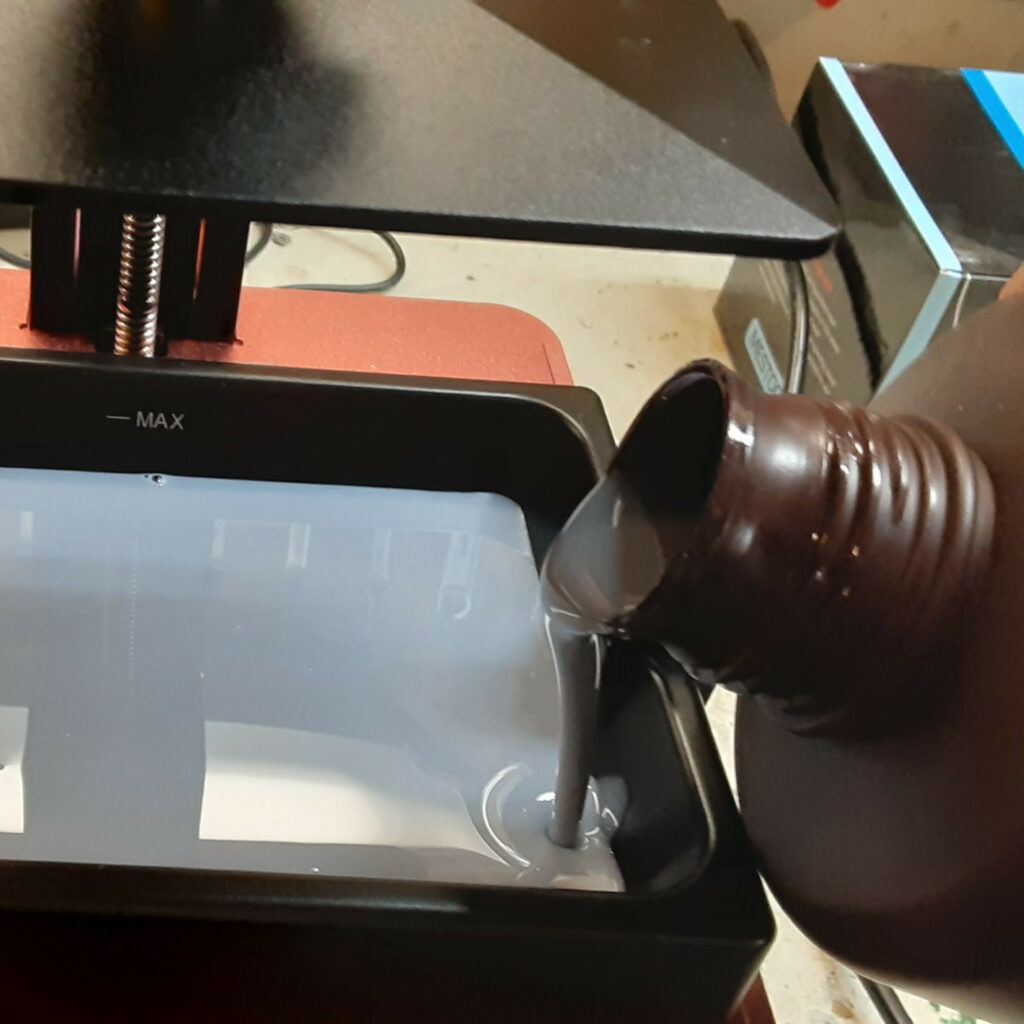
Step 1: Drain the Print
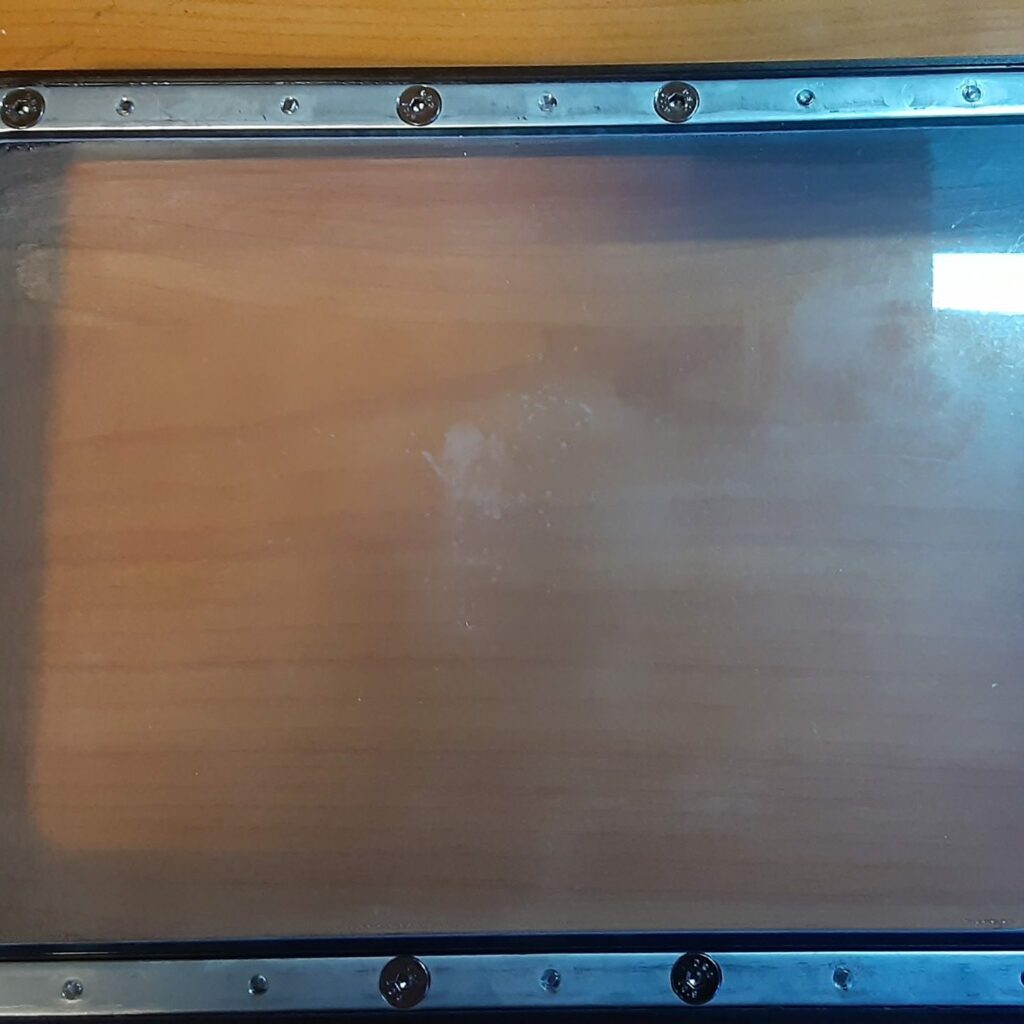
Step one in cleaning a resin miniature starts right on the printer. Most printers come with a tilt adapter where you can hang your model at a 45 degree angle over the resin vat to help draining. The longer you leave it there, the more resin will drain back into your vat. You can leave the figures hanging by their feet for hours, or even overnight. As long as your UV shield is in place and no UV light reaches them, you’re OK.
Take care with extra tall or short figures. Tall figures might drip outside of the vat while short ones might drip down a long way and splash the resin onto the UV shield. One way to solve the issue with short prints is to lower the build plate after printing so the figure hovers just above the vat. This will reduce splashing and keep your UV shield nice and clean.
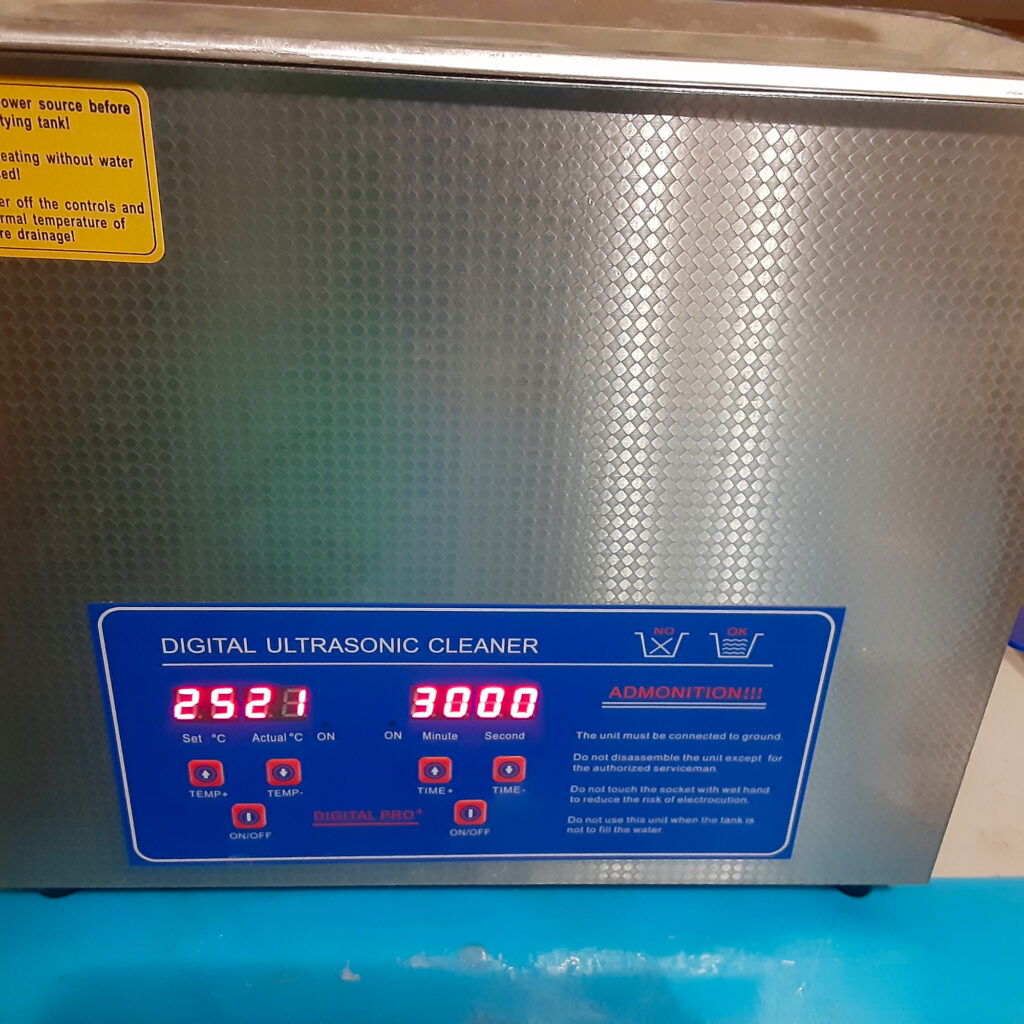
Step 2: Wash the Print
After the drip phase, put the minis into a Ziploc bag, fill it with alcohol (I use 60% ethanol) and hang it in an ultrasonic cleaner. The cleaner should be full of water and heated to around 50°C (122°F). Run the cleaner for 3-5 minutes, depending on the size of the figure(s). Large figures take more time and sometimes an additional cleaning to remove excess resin. Change the water in the ultrasonic cleaner only when it starts to get cloudy. Note that the Ziploc bag with the resin/alcohol mix never comes into contact with the water.
After cleaning, pour the alcohol back into its container and leave it to settle so it can be reused. Drop the figures into a pickle basket full of clean alcohol for a final rinse. A few dunks and they should be free of all excess resin. From there, rinse the figures under water for a couple of minutes to remove all traces of alcohol. Take a little extra time rinsing your prints because alcohol can erode the resin.
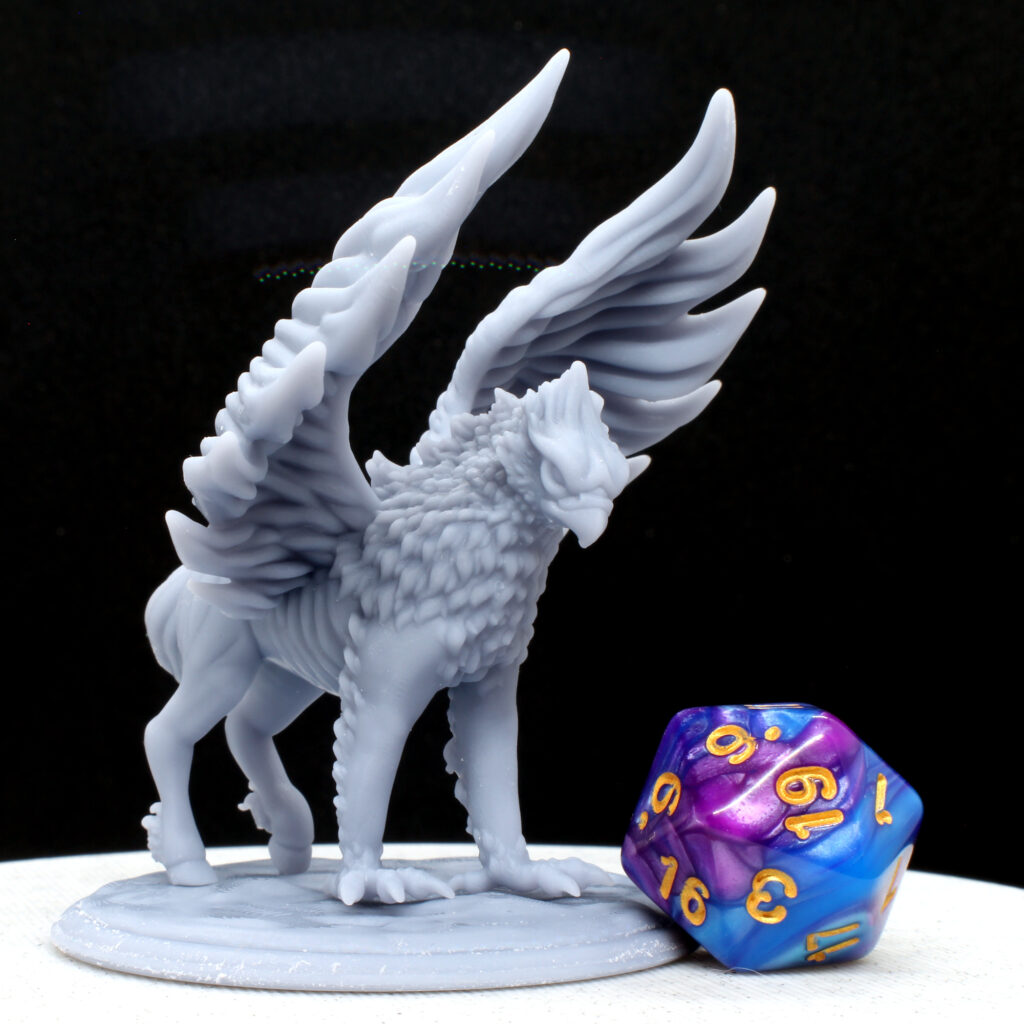
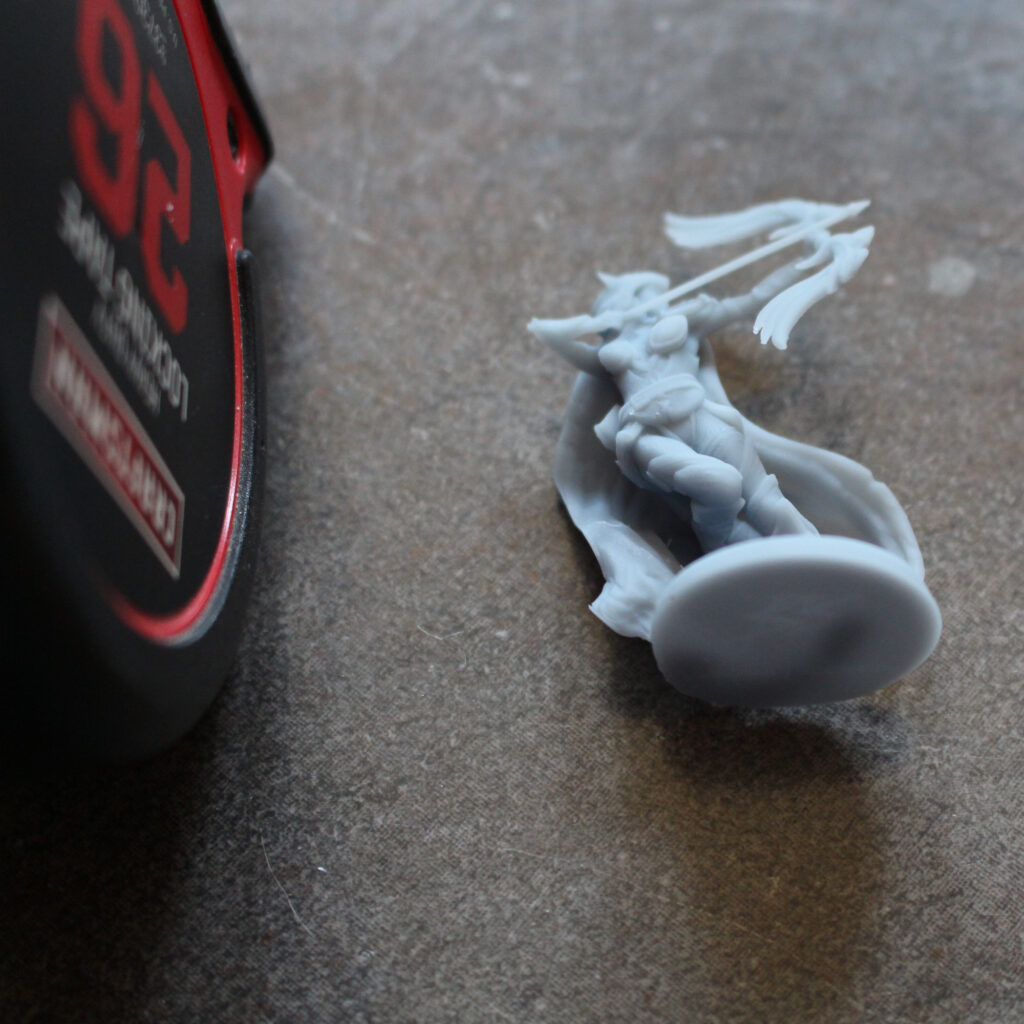
At this point, you can very carefully start handling the prints. If you don’t notice any residual resin goo on the figures, then they are finished with cleaning and ready for support removal.


Step 3: (Optional) Wash them again
On the other hand, the figures might have spots of resin still left on them. I have found that large resin prints are almost certainly going to have some goo left on them, especially around the base. If this is the case, you have two options. If you have more clean alcohol on hand, run them through the ultrasonic cleaner one more time, but make sure not to use the alcohol you just used in the first round of cleaning. That stuff is saturated with resin and needs time to settle. This is why I usually keep a couple of separate containers for alcohol on hand. Using clean alcohol, dunk it in the basket and then rinse with water.
The second option for gooey prints, especially if they are not too bad, is to give them another dunk in the pickle basket. This time, break out a tooth brush after the first dunk and start scrubbing. The alcohol will help the brush eat through any remaining resin. You will know when it’s clean when it looks smooth instead of gritty in the areas that had excess resin build-up. Once again, rinse with water and give it a good examination.
Ready for Support Removal!
So there you have it: an in-depth look at the cleaning process for resin prints. Everyone’s method varies slightly, and you will certainly find a method that works for you. In my own experience, multiple cleaning steps are necessary for the best results. Although it seems like all of these steps would take a long time, most of your time is spent waiting for the ultrasonic cleaner to do its job. When that’s done, you’re just a few dunks and a rinse away from having some very detailed prints to admire!
Now if only there were some tricks for removing supports…
Was this article helpful? Become a Patreon or buy me a coffee and I’ll write more!
Clicking on the Amazon Associate links in this article helps me pay the bills–and write more articles!